Hinge rebuild with the A-280004KIT hinge kits:
Tools required:
- Vise
- Pliers or vise grips
- 3/8" tap and bolt
- Punch
- Hammer and/or press
- 27/64" drill bit (verify match with OD of bushings before using)
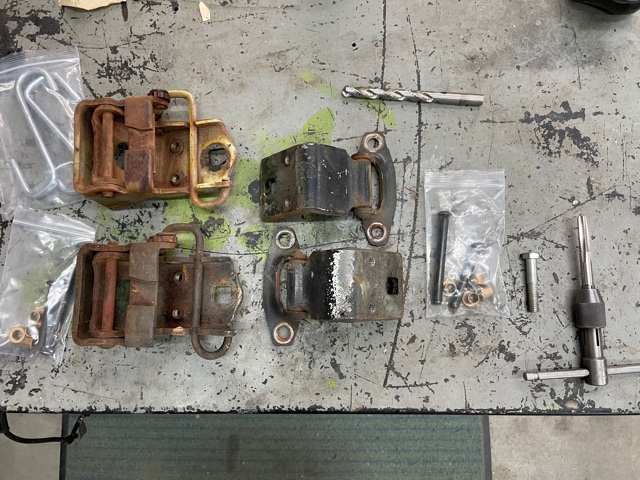
Original set of hinges
Upper Hinge Rebuild
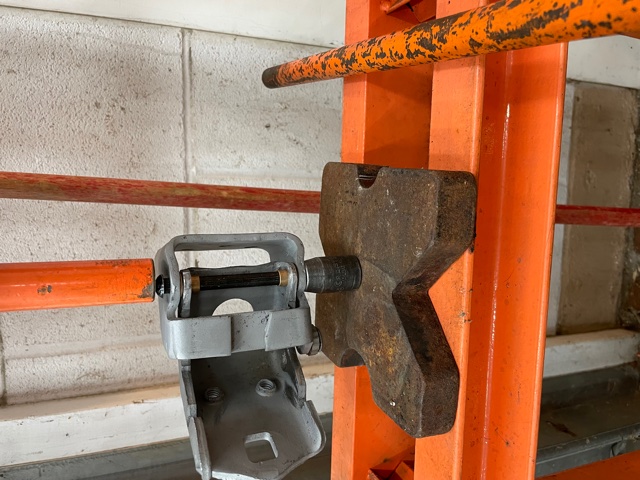
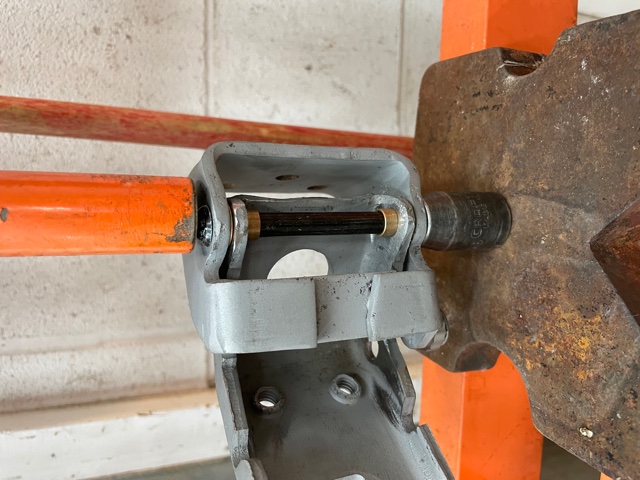
Drive the pin out with a punch. The body to hinge portion has bushings installed from the factory that'll need removed.
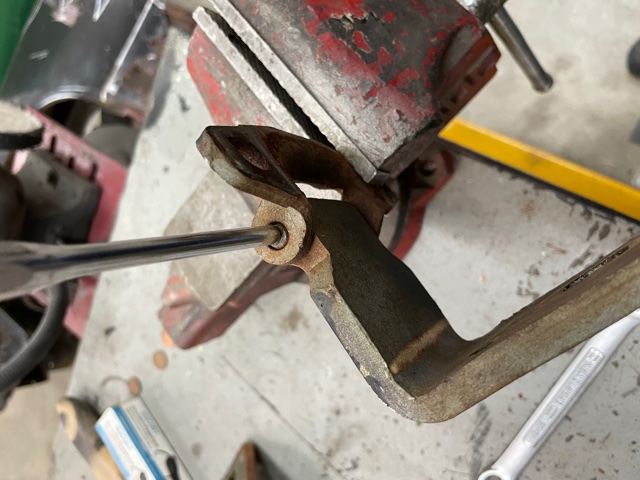
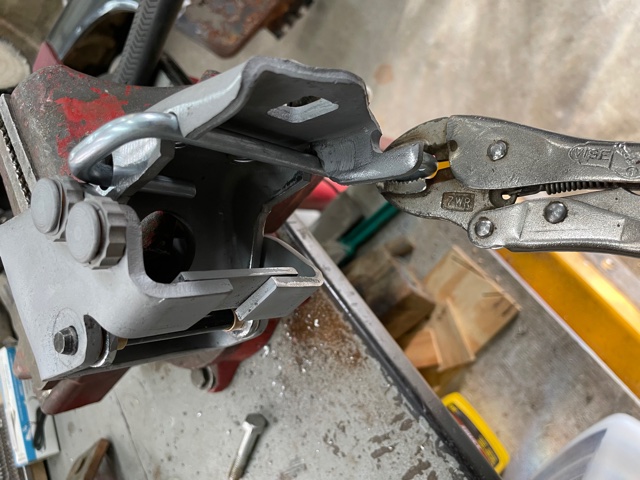
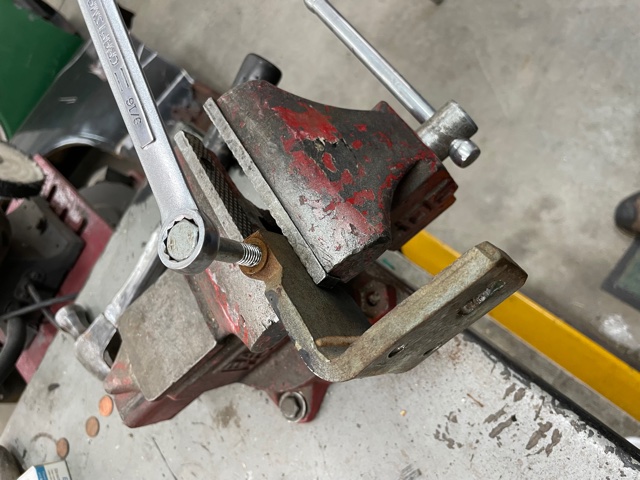
Tap the bushing on each end with a 3/8" tap...
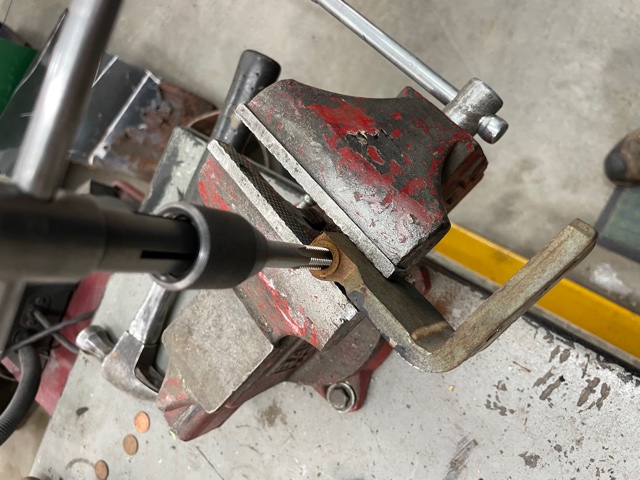
Install a 3/8 bolt into the tapped bushing in order to drive it out with a punch from the other side...
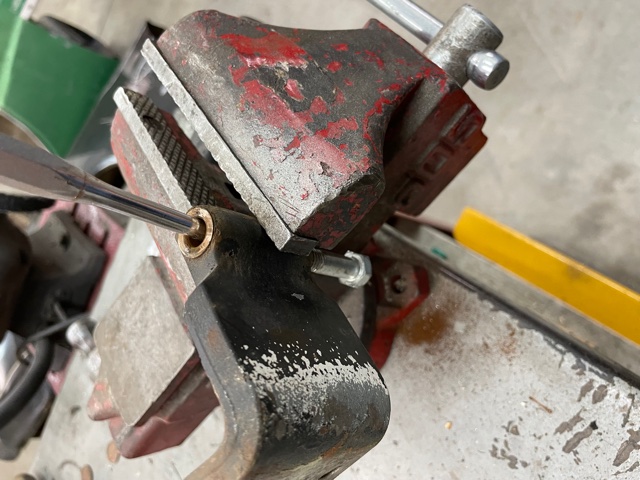
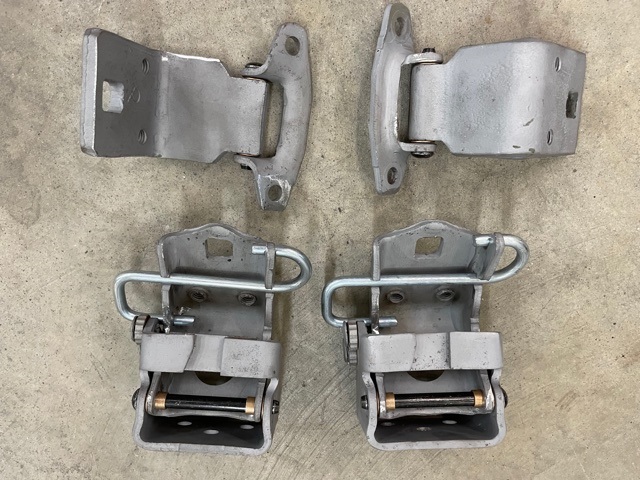
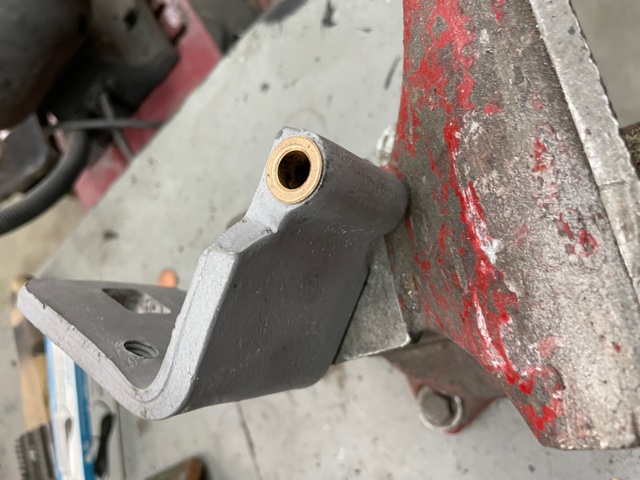
Drive the new bushings into the upper hinges. These should install easily with a hammer.
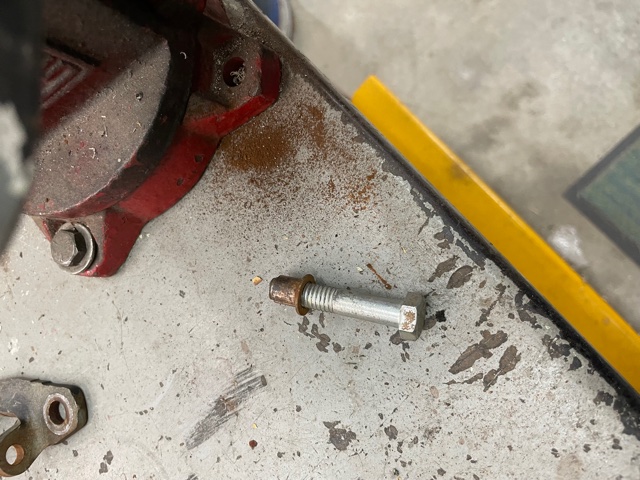
Reassemble and install the new pins. They may pound in with a hammer or you may need to press them to seat them fully...
Lower Hinge Rebuild
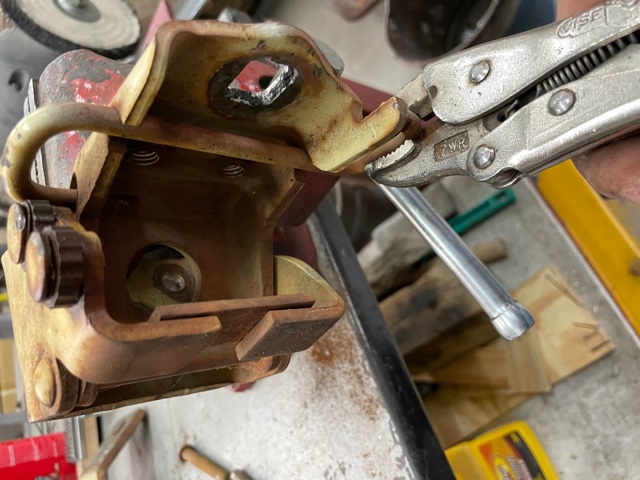
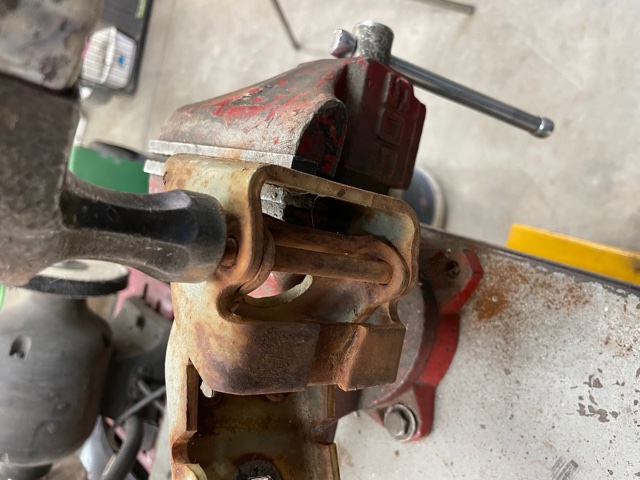
Release the pressure on the S-spring with pliers and drive it downward to unhook it...
Drive out the pivot pin with a hammer and punch to finish it...
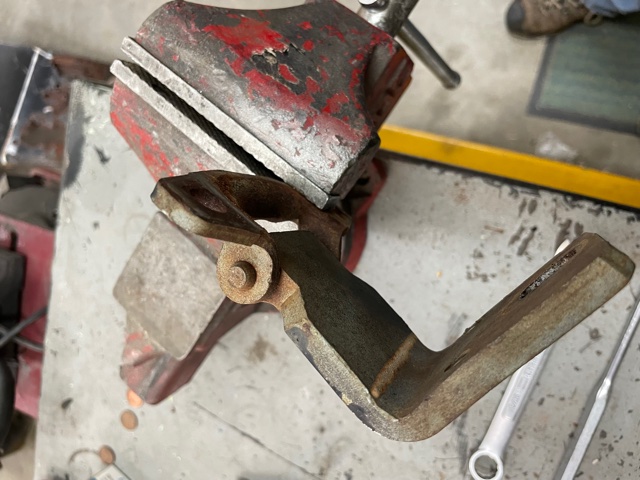
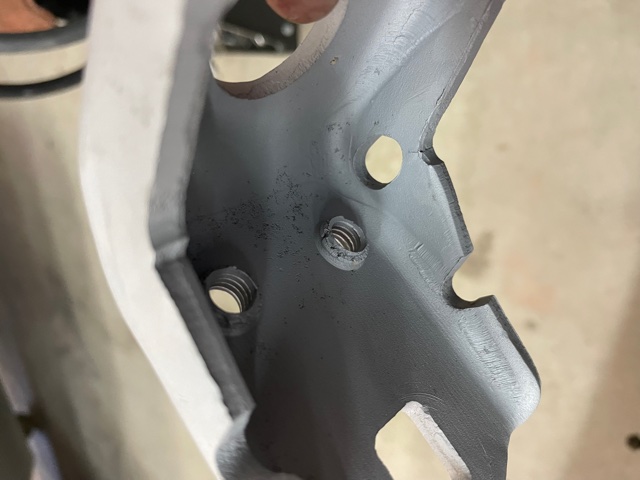
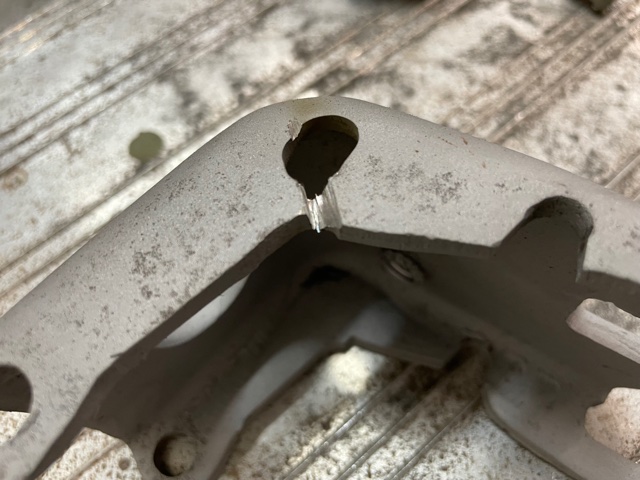
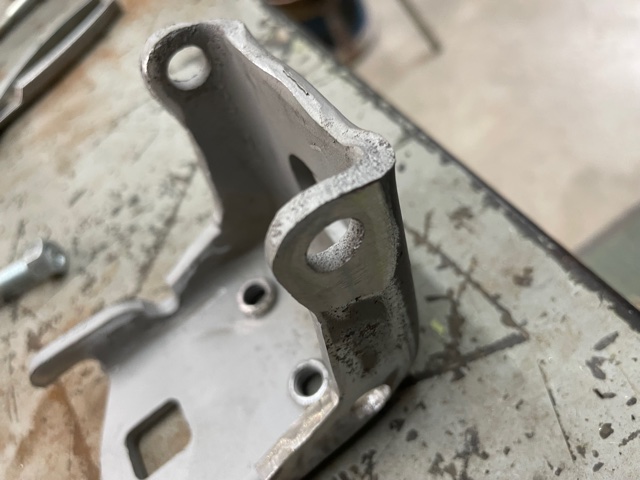
After bead blasting to clean things up, we noticed that both of our lower hinges had a crack next to the S-spring that we welded up...
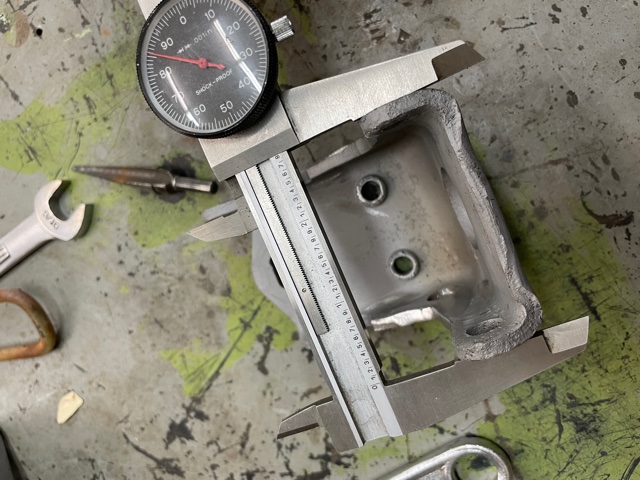
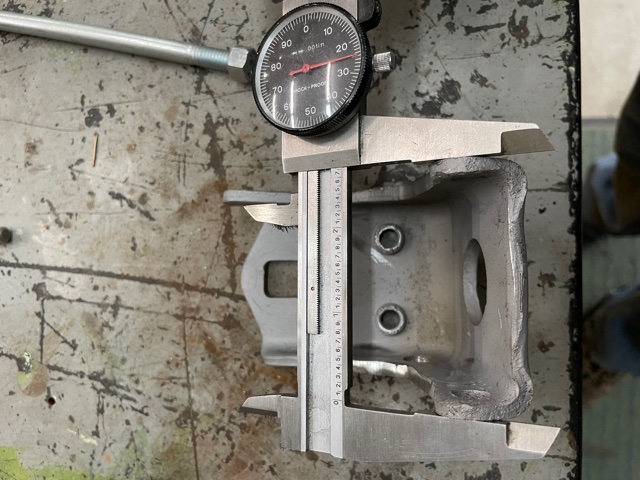
The inner part of the lower hinge is where the bushings will get installed as this is the wear point. This piece will need it's overall width reduced to compensate for the thickness of the bushing heads. Here our original width was 2.785".
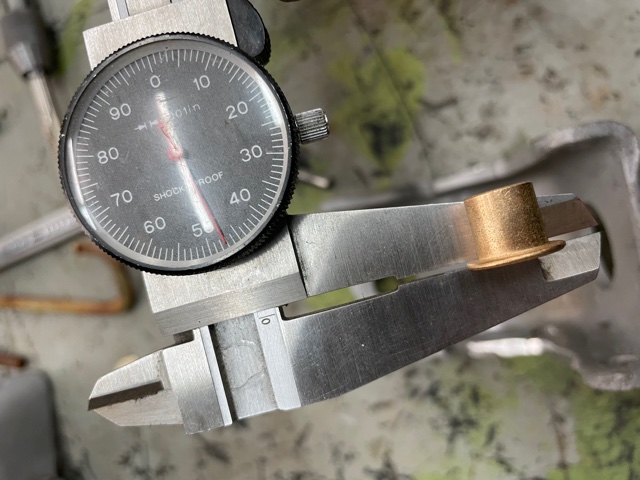
The bushing heads are about 0.050" thick, so once we install two of those into the inner part of the lower hinge, it's new width will be 2.885" which will be too wide to put things back together.
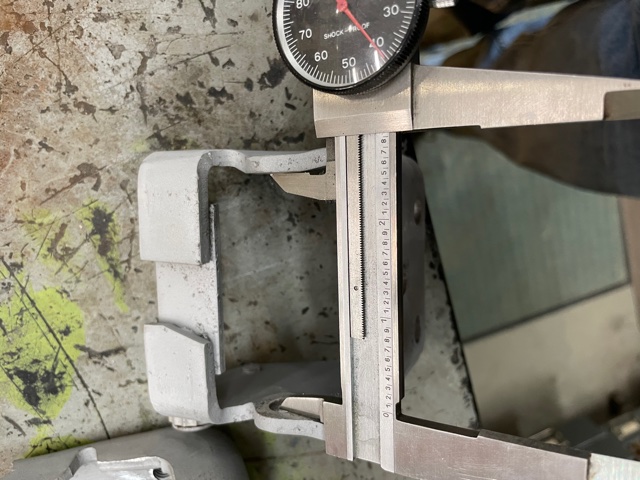
The space in the outer part of the hinge for the inner is 2.84", so we'll need to remove at least 0.045" of material from the inner hinge section or try manipulating the inner and/or outer sections to make things clear.
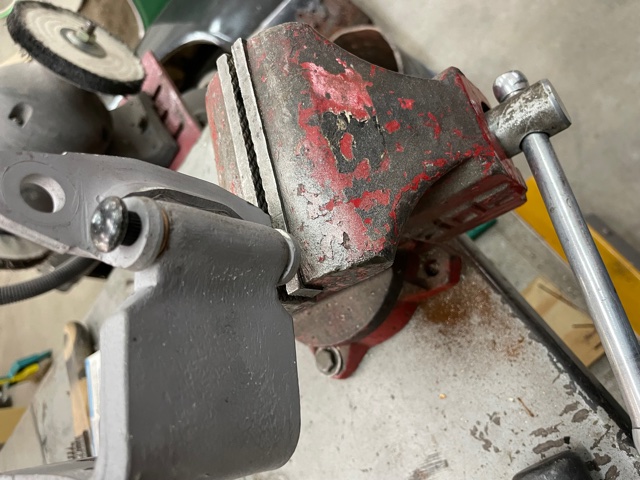
We opted to grind off material off of each face to make things clear when assembled.
We took off 0.060" combined between each end...
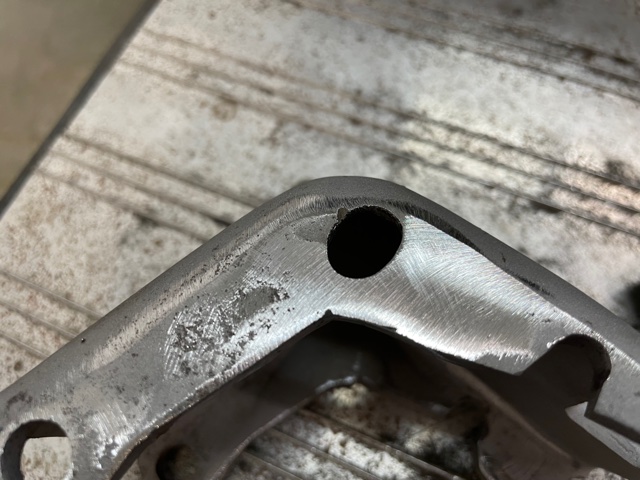
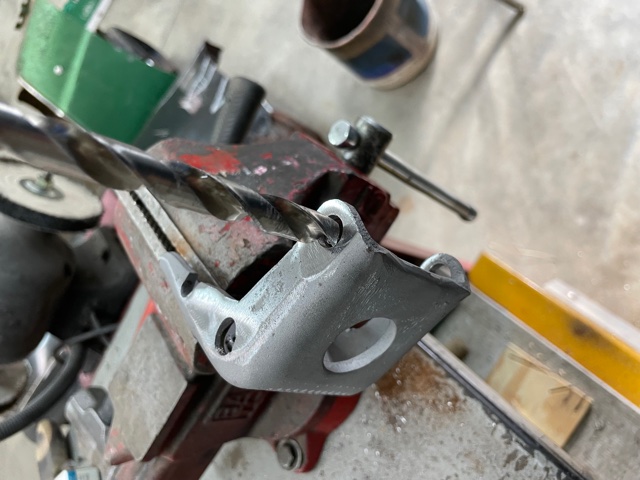
Drill out the lower hinge section to fit the new bushings...
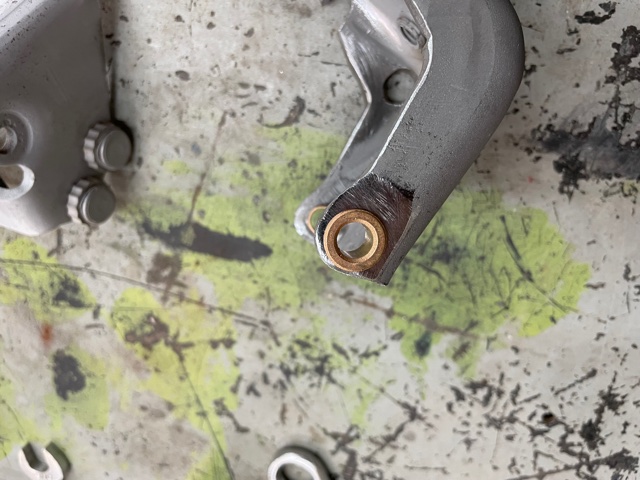
Install the bushings...
Reassemble the lower hinge...
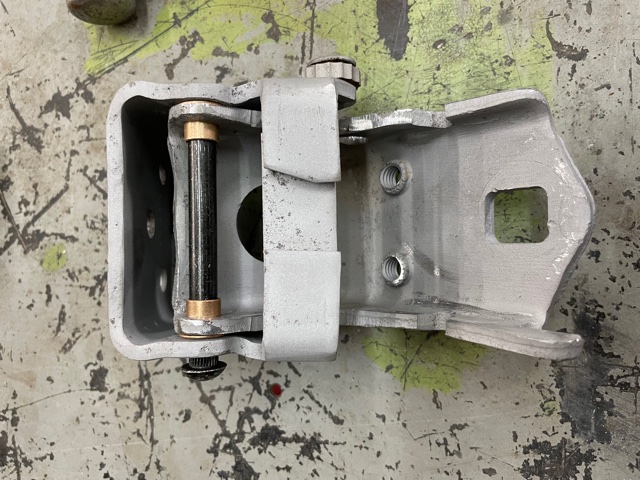
Press it back together...
Reinstall the S-spring with pliers by rotating it CCW and driving it upward until the divot in the side of the spring is aligned with the hinge...